 |
| 'HMS Royal Sovereign First Through The Line' by Richard Grenville |
As part of my on-going attempts at solo naval wargaming, I had to mark Trafalgar Day by having a go at part of the battle. I accordingly booked a suitably-sized table at my local friendly gaming store and broke out Blood, Bilge and Iron Balls again.
Only being human, I couldn't manage the whole battle, but instead played out the attack by Admiral Collingwood's leeward line. Fortunately, the scenario has been laid out in a free download from Warlord Games.
 |
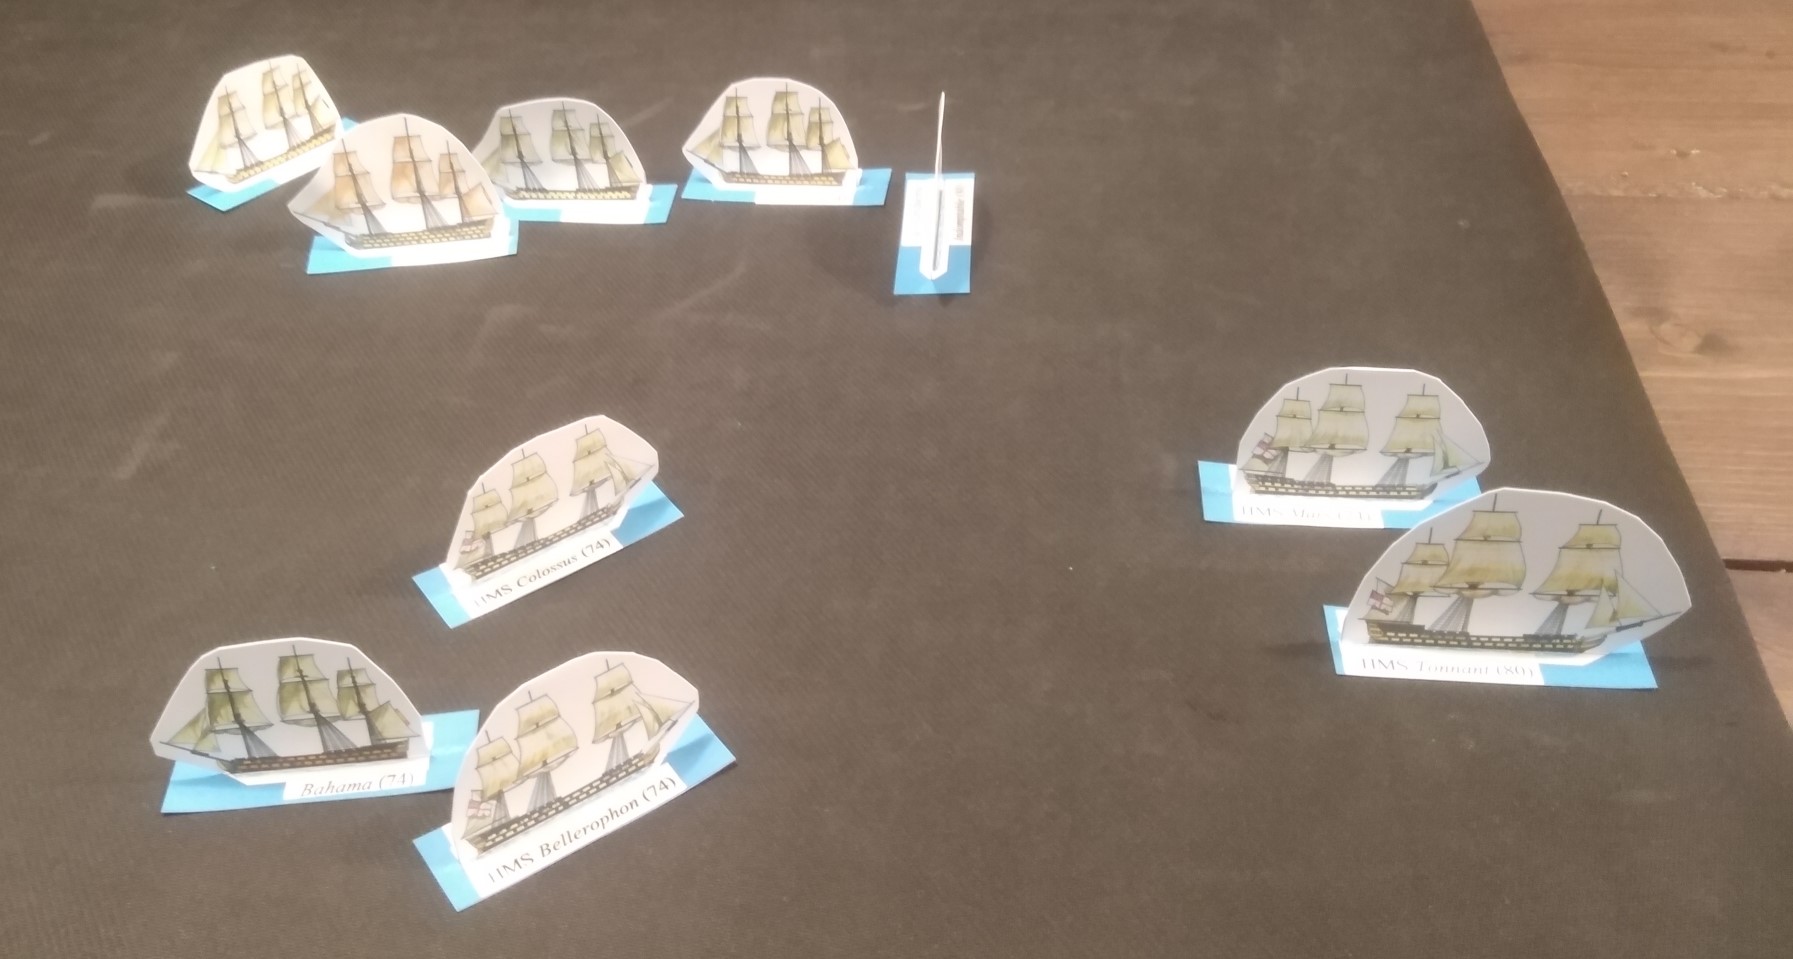
| In reality, the line wasn't this neat, and instead was in effect a line of bearing |
Turn One

Of course, things started out as in the real engagement. Collingwood's line, headed by HMS Royal Sovereign, the flagship, raced towards the centre of the Franco-Spanish line. During this time, they suffered from the combined fire of the line-of-battle.
I made the mistake of not having the British approach under full sail - that would have allowed them to engage sooner and left Bellerophon and Colossus under-utilised in the rear. In each of these games I learn something new: today's lesson was on effective deployment.
Turn Two

I'd decided to ignore the rest of the battle, so had no compulsion in having the Combined Fleet decide to break the larger formation. Initially, I thought they would turn in succession at the flagship's position (San Ana in the van) and run (into the wind!) parallel to the British attack.
In the first departure from history, Royal Sovereign and Belleisle attempted to break the line between Fougueux and Pluton instead of going for San Ana. The rest of line headed for the gap between Pluton and Algesiras. By accident, this meant that the Spanish Monarco was in position to rake Royal Sovereign's bows.

I now realised that turning the Combined line in succession would take too much time (Cape St Vincent anyone?), and instead chose to tack together. This had the effect of breaking formation and losing the effect of over-lapping fire that line-of-battle is designed to give.

At this stage the British hadn't yet opened fire, but had already suffered 33 hits, including the raking of Royal Sovereign. It was now in position to fight back, but Royal Sovereign and Belleisle (in the van) were constrained by the command-and-control damage they had suffered (though Royal Sovereign was still able to engage on both sides). Nevertheless, the single hit on Pluton from Royal Sovereign caused an inferno.
Turn 3

Things got very messy from here on. The van of the Combined line attempted to wear round and reverse direction, the rest of their line was now heading into the wind.
Bahama suffered major damage (having drawn both jokers among its damage card). Algesiras rammed Belleisle with the intent to board, but the boarding party was repulsed. Bellisle turned the tables and moved to board Algesiras.
Turn 4
This now turned into a slugging match. Ships from both sides found that the interlocked Algesiras/Belleisle their only viable target and decided that the damage to foe was worth damage to friend. That, and Bellisle's boarding action was enough to force Algesiras to strike. However, Belleisle was in left a very critical state.
Turn 5
Despite their lack of maneuverability, the Combined fleet remained in a better firing position (I'd allowed the British ships to get into a situation where several were blocking line-of-sight.) Both Belleisle and Royal Sovereign, Collingwood's flagship, were forced to strike.
In the meantime, Colossus and Bellerophon had made a Bahama sandwich.

Mars and Tonnant both had damaged steerage gear and were therefore forced out of the engagement (Mars was able to make repairs quickly, but Tonnant was last seen heading over the horizon towards the Spanish coast).
Turn 6
The battering continued. Bahama was unable to control the raging fires on board, which lead to a catastrophic explosion.
Four hours in, I decided to call it a day.
The butcher's bill was high. The British had received just under twice as many hits as the Combined Fleet: - two ships (including the flagship) had struck and one was forced to leave the field of battle. In contrast, a French ship had been successfully boarded and captured, and a Spanish ship was sinking. I determined it to be a victory for the Combined Fleet.
Thoughts
 |
| A toast was made to the Immortal Memory and to the other 4,852 lives lost in the battle |
Blood, Bilge and Iron Balls has served well for what I wanted it for - an intro to naval wargaming that allows me to work out the tactics without getting too bogged down in detail. It lacks nuance though, and I'm wondering whether to move on to something with a bit more granularity - possibly the Two Fat Lardies Kiss Me Hardy.
On 4 Nov 1805 the final action of the Trafalgar Campaign took place when Strachan's squadron caught up with Admiral Dumanoir and defeated him at the Battle of Cape Ortegal. Perhaps by the anniversary, I will have familiarised myself with a new ruleset. I shall have certainly have read more of Mark Adkin's excellent Trafalgar Companion - which covers far more than the title suggests. I still have a lot to learn about age of sail tactics and placing ships where they can be most effective.
No comments:
Post a Comment